February 12, 2025
2
Min Read Time

This blog is part two of a four-part series on creating a yearbook in 60 days. Each part contains two weeks' worth of tasks and inspiration, and this time, it’s all about promoting and designing the yearbook.
There are links to articles, videos, and additional blogs throughout. Treering editors, you'll need to log in to your dedicated help center to view some.

Yearbook (yes, it is a verb) along with us on Facebook, Instagram, and TikTok.
You’re building a yearbook, which is a mic-drop task in itself. People need to know how awesome (you are) the yearbook will be. Treering created flyers, QR codes, and personalized links for you to quickly share.

“Buy your yearbook” is not your only message.
Yes, you are selling the yearbook. You are also rallying stakeholders (administrators, teachers, plus students and their families) to support the yearbook project by purchasing, sharing photos, donating books, and joining the yearbook staff next year. So, go get them!
Identify the best to reach each stakeholder where they live. In other words, go to them. Utilize all the communication channels available to you and evaluate which ones work best for each group.
Possible channels include:
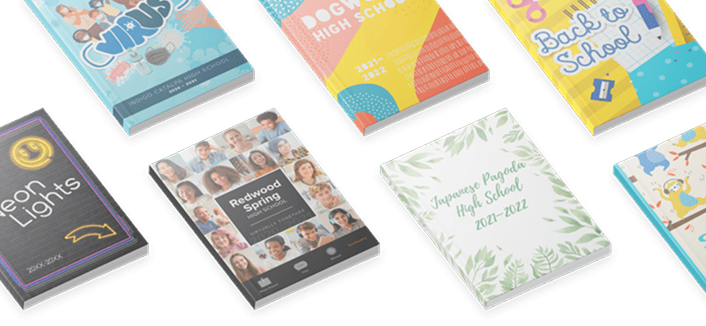
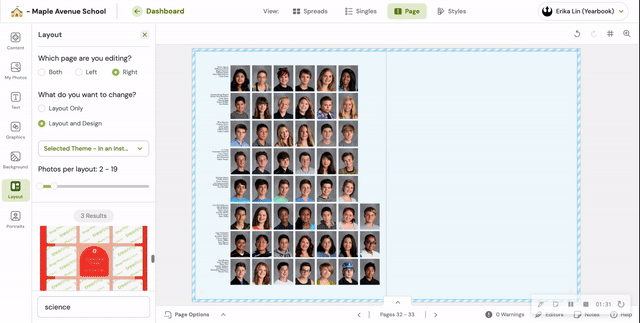
Ready to level up your yearbook achievement? Portraits comprise 40-60% of a yearbook. Between the choice of a Heritage Cover and building portrait pages, you’ll be halfway finished. Take a minute to let that soak in.
If a professional photographer took your school photos, chances are you have a PSPA (Professional School Photographers' Association) file. This is industry standard. With it, you'll be able to go to the portrait tab and follow the prompts. (If you don’t have a PSPA file, you can still use autoflow. See the resource section below for instructions.)
Remember when we set up the photo folders, and some were green? That means only the editorial team (you!) can see them and their contents. The yellow public folders are marked public, and your school community can share photos by
Treering’s privacy measures prevent just anyone from uploading to your shared folders. Only your invited school community members with activated yearbook accounts can see and share.
Parents and editors can add photos from their computer or mobile device as well as third-party connections to your personal Facebook, Instagram, Dropbox, Google Photos, and Google Drive.
If you build it, will they come?
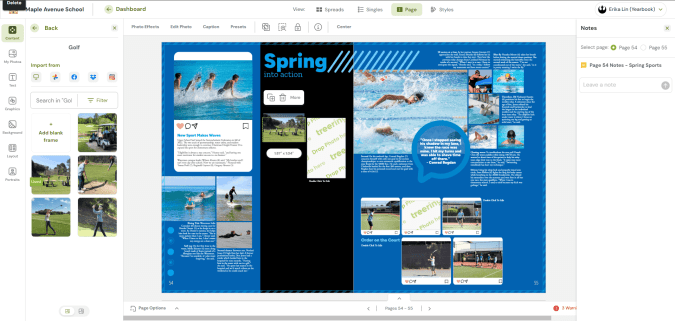
As your photos fill your folders, drag them onto your spreads. There are two ways to quickly complete pages using Treering’s built-in tools: auto page layout and templates.

Everything is fully editable, so if you need to add or remove a photo, text box, or piece of theme art, permit yourself to do it!
Create your own layouts using Treering’s drag-and-drop design tools.
Halfway through building a yearbook in 60 days, you should split tasks between gathering photos and adding them to the book. The cover is finished. Portraits are flowed. First semester events are filling in. Congrats!