February 6, 2025
2
Min Read Time

Two types of people start a yearbook towards the end of the school year: those handed the crown minutes ago, and those with hundreds of other tasks for the school and now have “free” time to begin one more. Creating a yearbook in 60 days is doable. Promise. We’re breaking it down for you in four parts, each with two weeks' worth of tasks and inspiration. Consider this your yearbook easy button.
Throughout the series, there will be resources for inspiration and help.
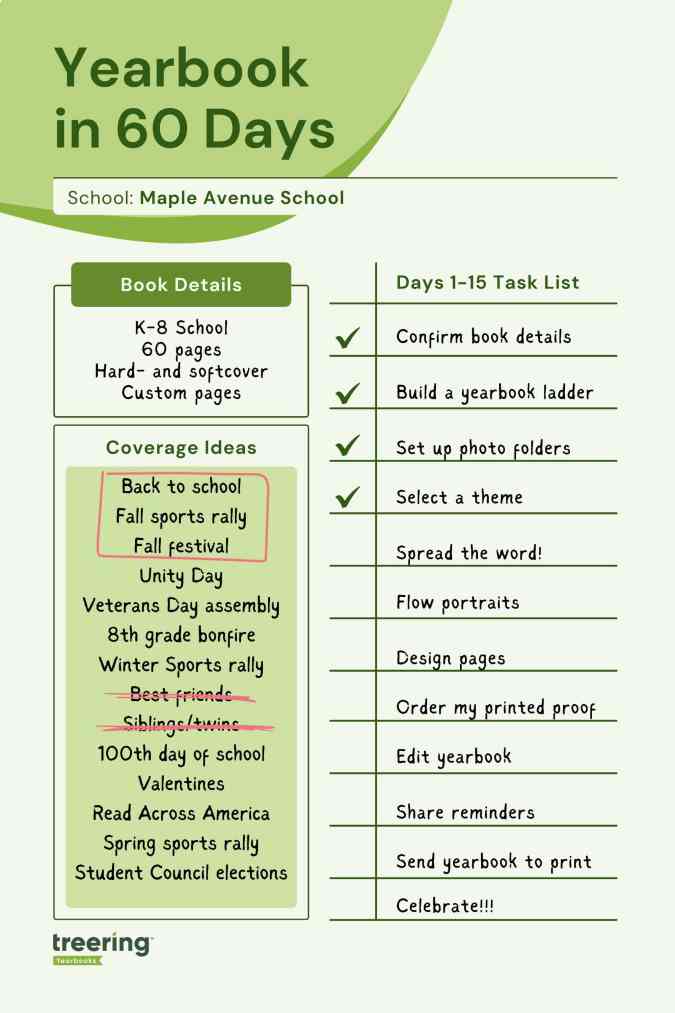
It’s tempting to jump into the glamorous yearbook tasks such as theme and design. There’s a little back-end work you need to do first for two reasons:
With Treering, you can change your dates at any time. Remember, your three-week turnaround begins once you hit Print Ready, and send your book to the printers.
Parents will see this date on their account, indicating when they should purchase the book or complete any customized pages. It doesn't impact the printing schedule.
Some parents {raises hand} need a little extra time and reminders to complete theirs. Treering recommends a cushion of about two weeks.
This is your one and only deadline for editing the book—and you set it! Select a date three weeks from when you want to distribute it.
You won’t be able to edit the delivery date directly. Treering automatically populates it by the date you choose for your deadline. If you need additional time to capture year-end events, no problem. Your three-week turnaround will align with your new deadline.
In part four, you’ll learn how to send your yearbook to print.
The yearbook price will change in real time when you adjust the page count and cover finish. The best way to firm up your page count is to create a ladder (more on this below).
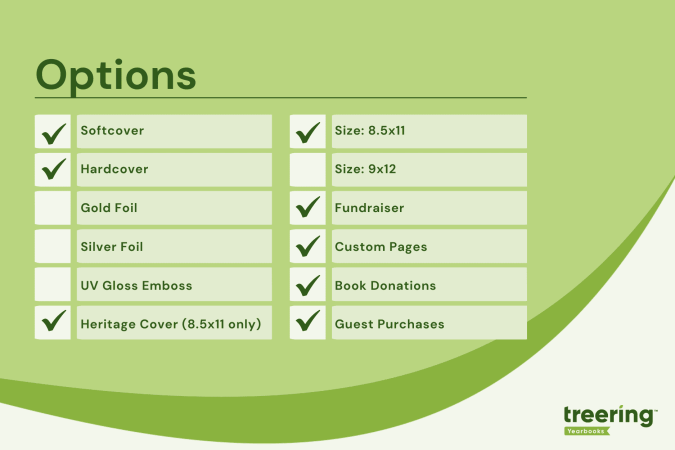
Bulk shipping to the school is free. If you select this option, you choose how to receive your yearbooks:
Alternatively, many online or hybrid academies and schools electing to do a fall delivery choose the ship-to-home option. When parents order yearbooks, they also pay a flat rate shipping fee.
A ladder is a chart that represents the pages in a yearbook. It’s the industry-standard tool to help you stay organized. On it, you allocate a topic to each yearbook spread (that’s yearbook-ese for two facing pages).
Because yearbooks tell the story of the year, there isn’t a codified order to how things go. Typically, they include
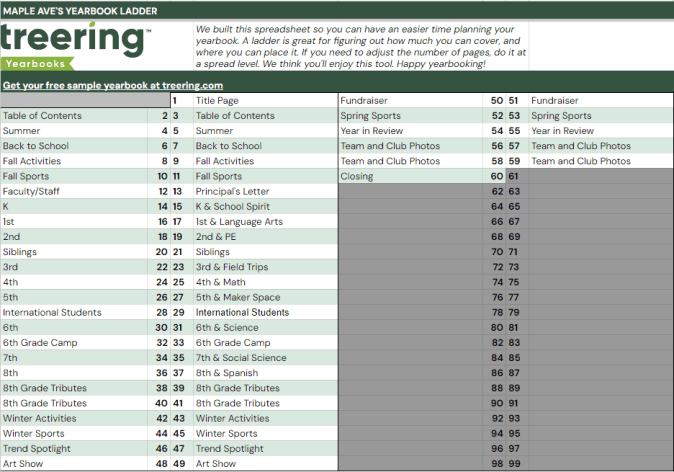
To build your ladder, look at the last few yearbooks and the latest school calendar.
We love doing this digitally because it can be fluid. If your page count is looking overwhelming because of time or budget, combine some topics. Remember to update your page count on your book details so it matches your plan.
The best photo organization tip I can give came from Yearbook Hero Katie Parish. She said to create folders to mirror your ladder. This way, you know you are collecting content for every single spread you planned. And spoiler alert, your design process will look like this.

By investing the time to set up folders this way, you can simplify your workflow. Just open the corresponding folder and click, drag, drop, and done!
In the video below, you’ll see how to add folders and set up crowdsourcing features. Notice the Art Show folder is Editor Only. This means only you, the editor, can place photos in this folder. After activating their accounts, parents will see the yellow “public” folders and be able to share. At any time, you can make a folder Editor Only and vice versa.
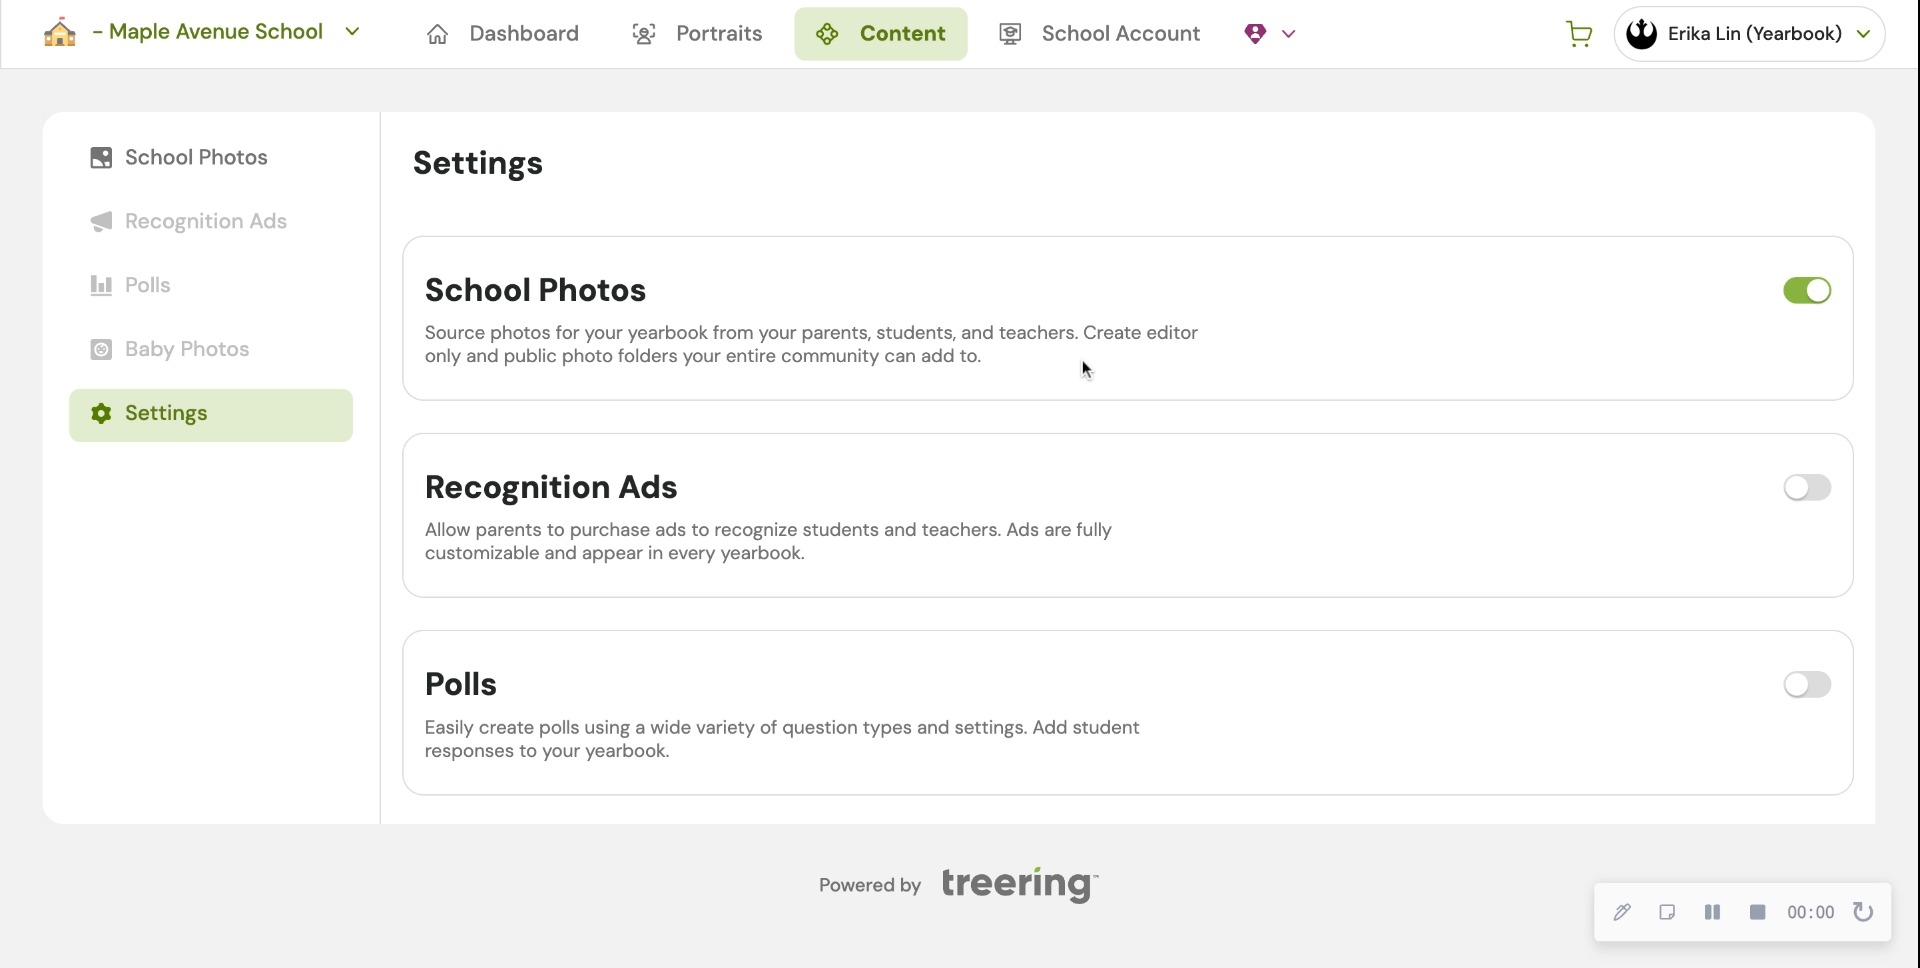
In Part Two, we will give you five strategies to fill those shared folders with content so you can build your pages.
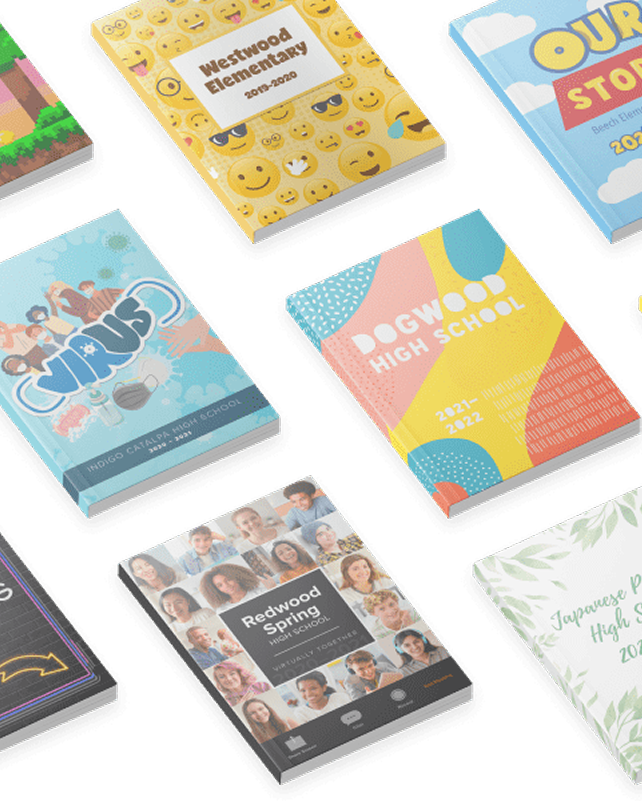
The Styles menu is where it’s at: you can create font and photo presets, adjust your margins (#TeamMarginsOff), and select the theme for your yearbook. Because I have 60 days to create a yearbook, I am skipping all the customization options and selecting a pre-designed theme to give my yearbook a unified look.
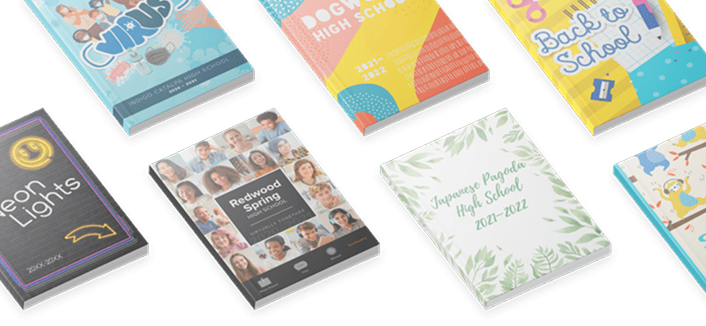
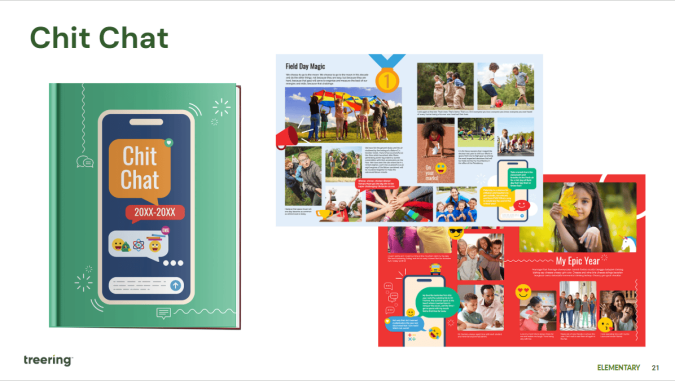
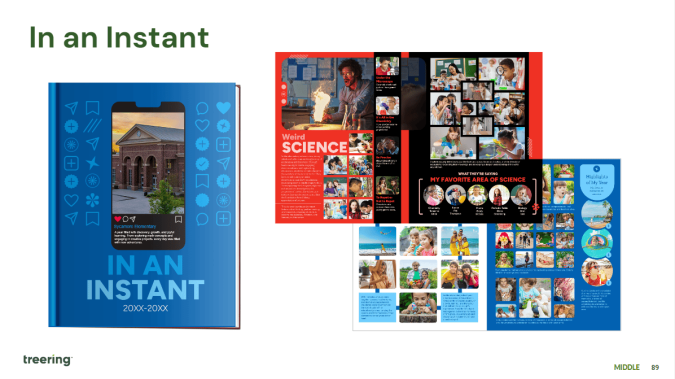
For a cover-to-cover drag-and-drop experience, the design team recommends the following Treering themes:


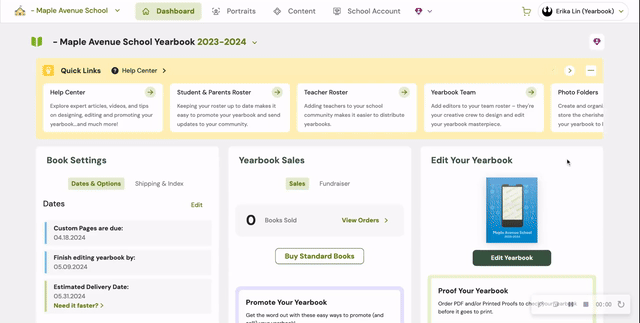
Remember, get to know your dashboard; it’s the first thing you see each time you log in. Part two of this series will outline the promotion tools built in the yearbook builder and start the design process.
You can also recruit team members to help you build and market the yearbook. With Treering, you can set permissions and assign pages to help delegate your workload. Additionally, parents, teachers, and students can help gather content and promote book sales.