January 23, 2025
2
Min Read Time
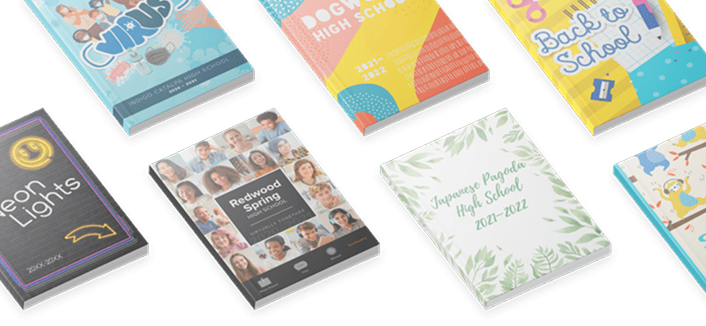
Improving yearbooking skill sets is an ongoing process, and we sometimes forgo instructional time as deadline season creeps in. Using these five mini-yearbook lessons, you'll be able to improve your photography skills with a DSLR, mirrorless, or cell phone camera while still having plenty of time for yearbook production.
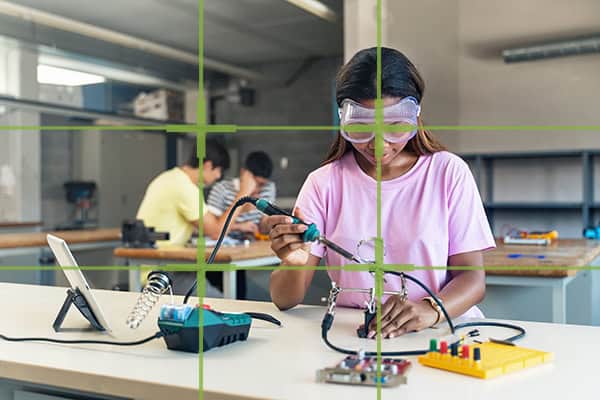
Imagine your photo divided into a tic-tac-toe grid, with two horizontal and two vertical lines, creating nine parts. Instead of placing your subject dead center, try aligning them along these gridlines. The asymmetry adds interest to your composition.
Action should flow across your photo, not off it. The same goes for eyes: you want your subject looking in.
Head out to the school courtyard and practice the rule of thirds with your classmates. Practice taking both vertical (portrait) and horizontal (landscape) portraits, ensuring your subjects are placed along the gridlines for a visually pleasing result.
By experimenting with these angles, photographers convey different emotions, perspectives, and stories in their images.

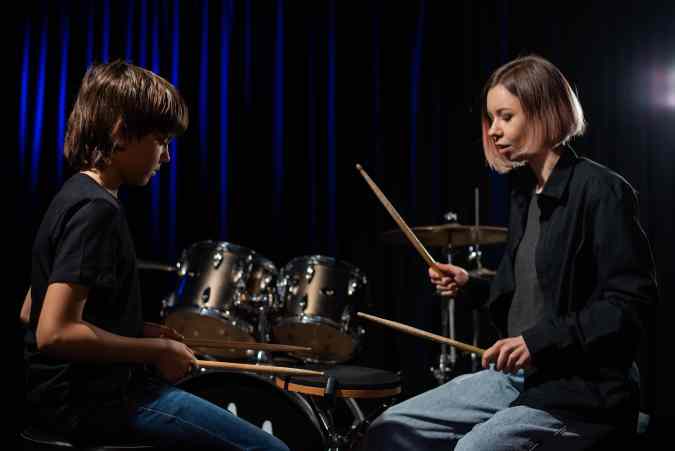
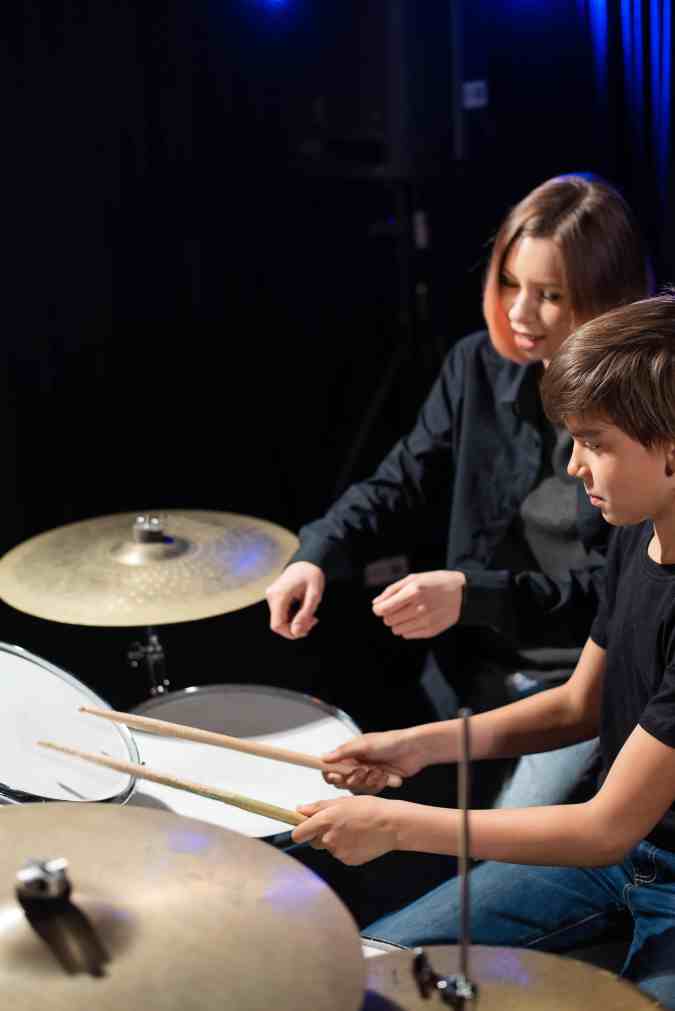
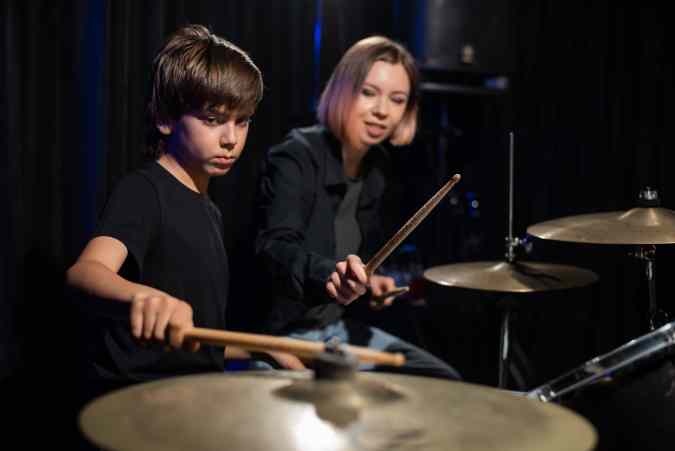
While these photos have the same subject, the variety of angles tells a different moment in the story.
Practice each of these photo angles during your lessons.
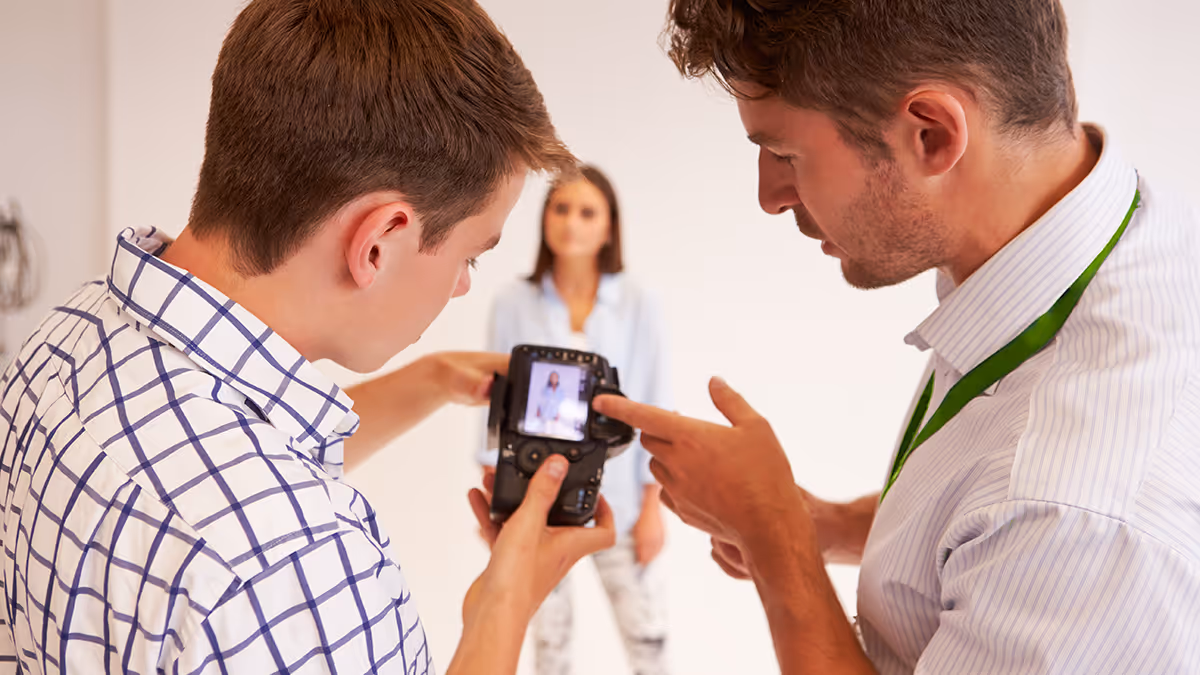
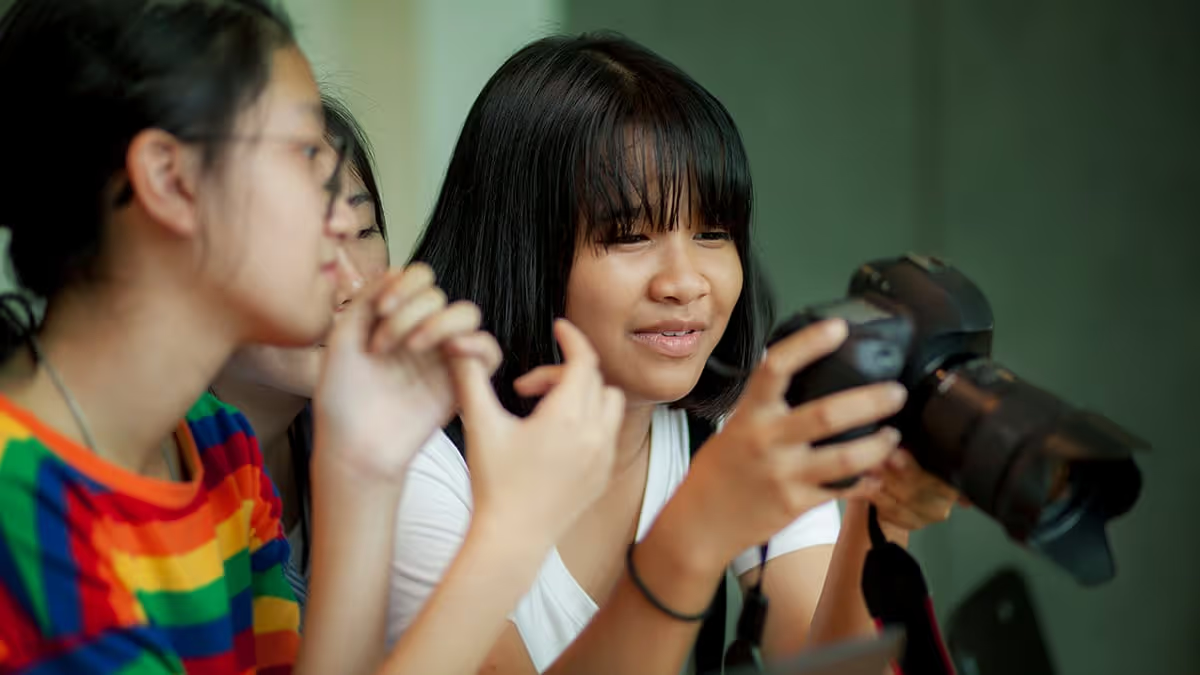
Stage a student at work in the classroom. Taking turns, yearbook photographers should circle and move around the subject, snapping photos using the above angles. For more application, one student can “direct” the photoshoot, explaining which angle to practice and how to achieve it.
Cell phone cameras make yearbook photography more convenient for students–it’s a familiar and comfortable way to document the day. While DSLR and mirrorless cameras give more control over light, cell phones are lightweight and on your person nearly 24/7.
As with a traditional camera, you want to hold the phone steady with both hands, elbows in. This adds stability and reduces blur, especially in low-light situations.
Additionally, remember to zoom with your feet. My yearbook adviser gave me this photography lesson back in the 90s, and it still holds. This means photographers move to the subject and avoid a single, stationary vantage point. Ultimately, the composition and photo quality will be better.
By pinching and zooming, you reduce the pixels in the photo, thus destroying its quality. It’s better to zoom and crop once the photo is on your spread.
Turn the grid on your phone cameras (Android, iPhone) and repeat the previous exercises on the rule of thirds and angles. Remember, the principles of photography are universal.
With a camera in most teachers’ and parents’ pockets, you have an additional photography crew on campus. Creating shared photo folders and communicating how to get pics in them allows more stories and POVs to be told.
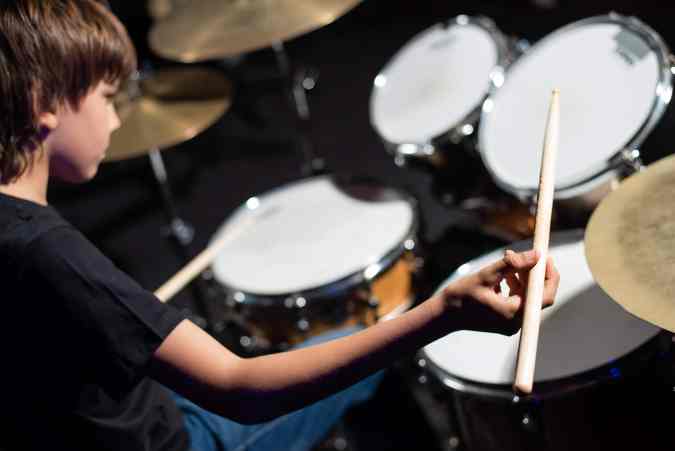
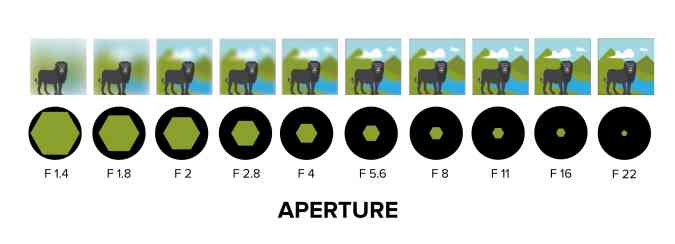
Depth of field is a crucial aspect of photography, influenced by the aperture setting on a camera. The aperture is the physical opening in the lens that controls the amount of light entering the camera. The wider the aperture opens, the more light passes through.
Portrait mode on a cell phone mimics depth of field by using depth mapping, selective focus, and, sometimes, multiple lenses to create a shallow depth of field, similar to what is achieved with a wide aperture on a traditional camera. (Click here for the full technical read.)
Using both a camera and a cell phone, take headshots of your yearbook staff. Try f/22, f/8, and f/1.4. Repeat, focusing on objects, such as a baseball or pointe shoes, in the hands of a student.
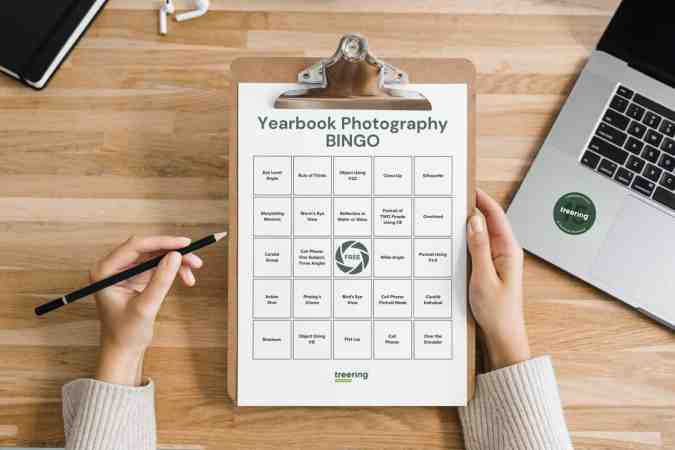
Every unit needs a culminating activity. And since we love gamifying yearbook class, here is a photography Bingo card. You can use this in a few ways:
The short answer: storytelling photos.
A yearbook narrative of the entire school year. Candid moments, such as in-class discussions, reactions at a game or awards ceremony, or spontaneous interactions between friends, are emotive. While posed pictures have their place–the portrait section is full of them–action shots bring a sense of vitality and excitement to your yearbook.

By applying the composition tips above, your yearbook photography is already diversified. The variety of angles and depth of field alone will increase the visual appeal of each layout.
Taking multiple shots of your subject is a great way to ensure you get the best pose, reaction, and composite. Deleting unwanted images only takes seconds and not getting the most effective image in the first place is a missed opportunity that can’t be duplicated.
Additional photography resources for yearbook classes and clubs: