November 5, 2025
2
Min Read Time
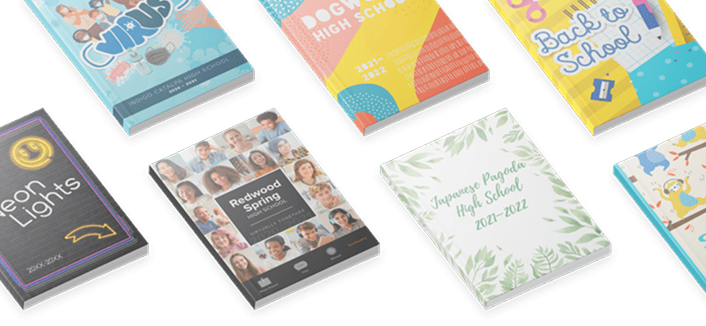
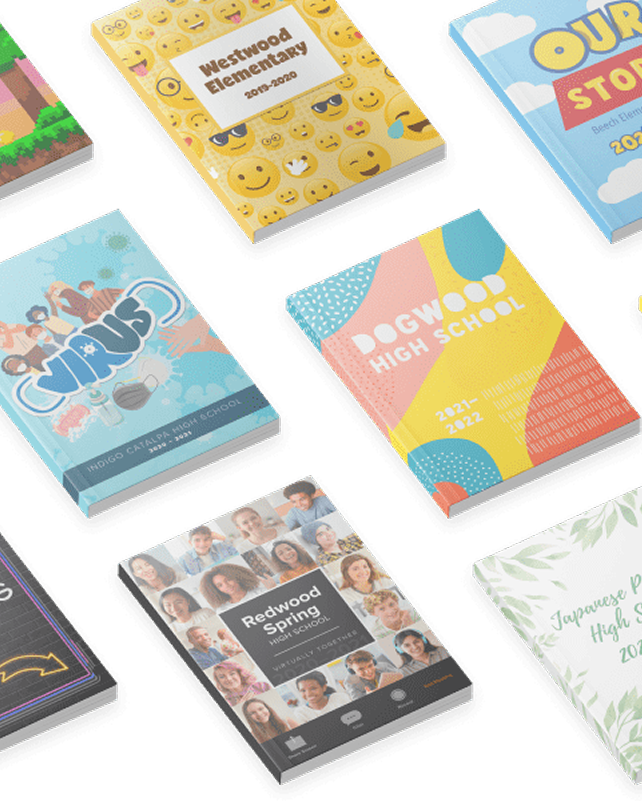
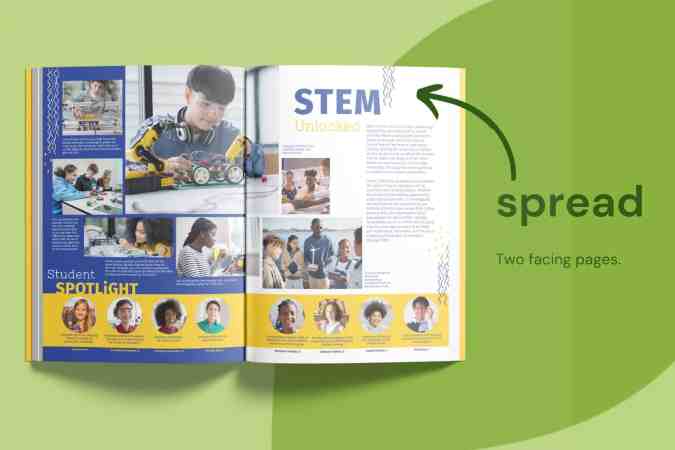
When anyone first steps into the world of yearbooks, it can feel like learning a new language. Terms like "gutter," "bleed," "spread," and "copy" have specific meanings that may be different from everyday language. Understanding this unique vocabulary is part of the journey. We hope that after your read this you can speak yearbook fluently.
To borrow from classical education, the grammar stage is the first step in learning any subject. It focuses on mastering foundational knowledge and vocabulary so we can eventually progress to more complex tasks. During this stage, the focus is on memorizing terms and concepts, recognizing patterns, and building an understanding of a subject’s basic structure.
In the context of yearbook creation, this foundational knowledge helps you communicate effectively with students, your publisher, and fellow volunteers.
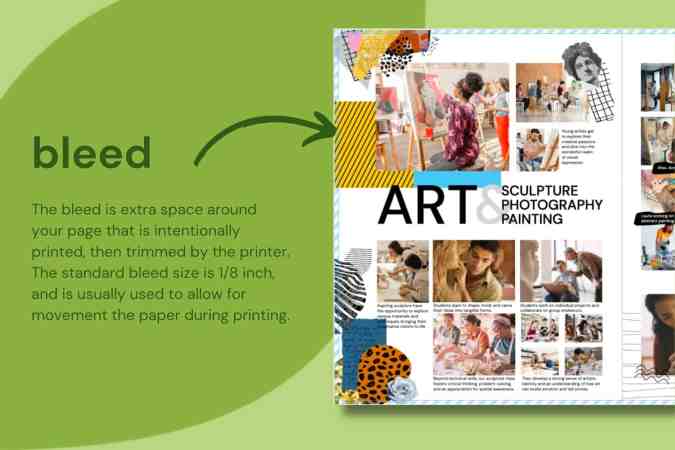
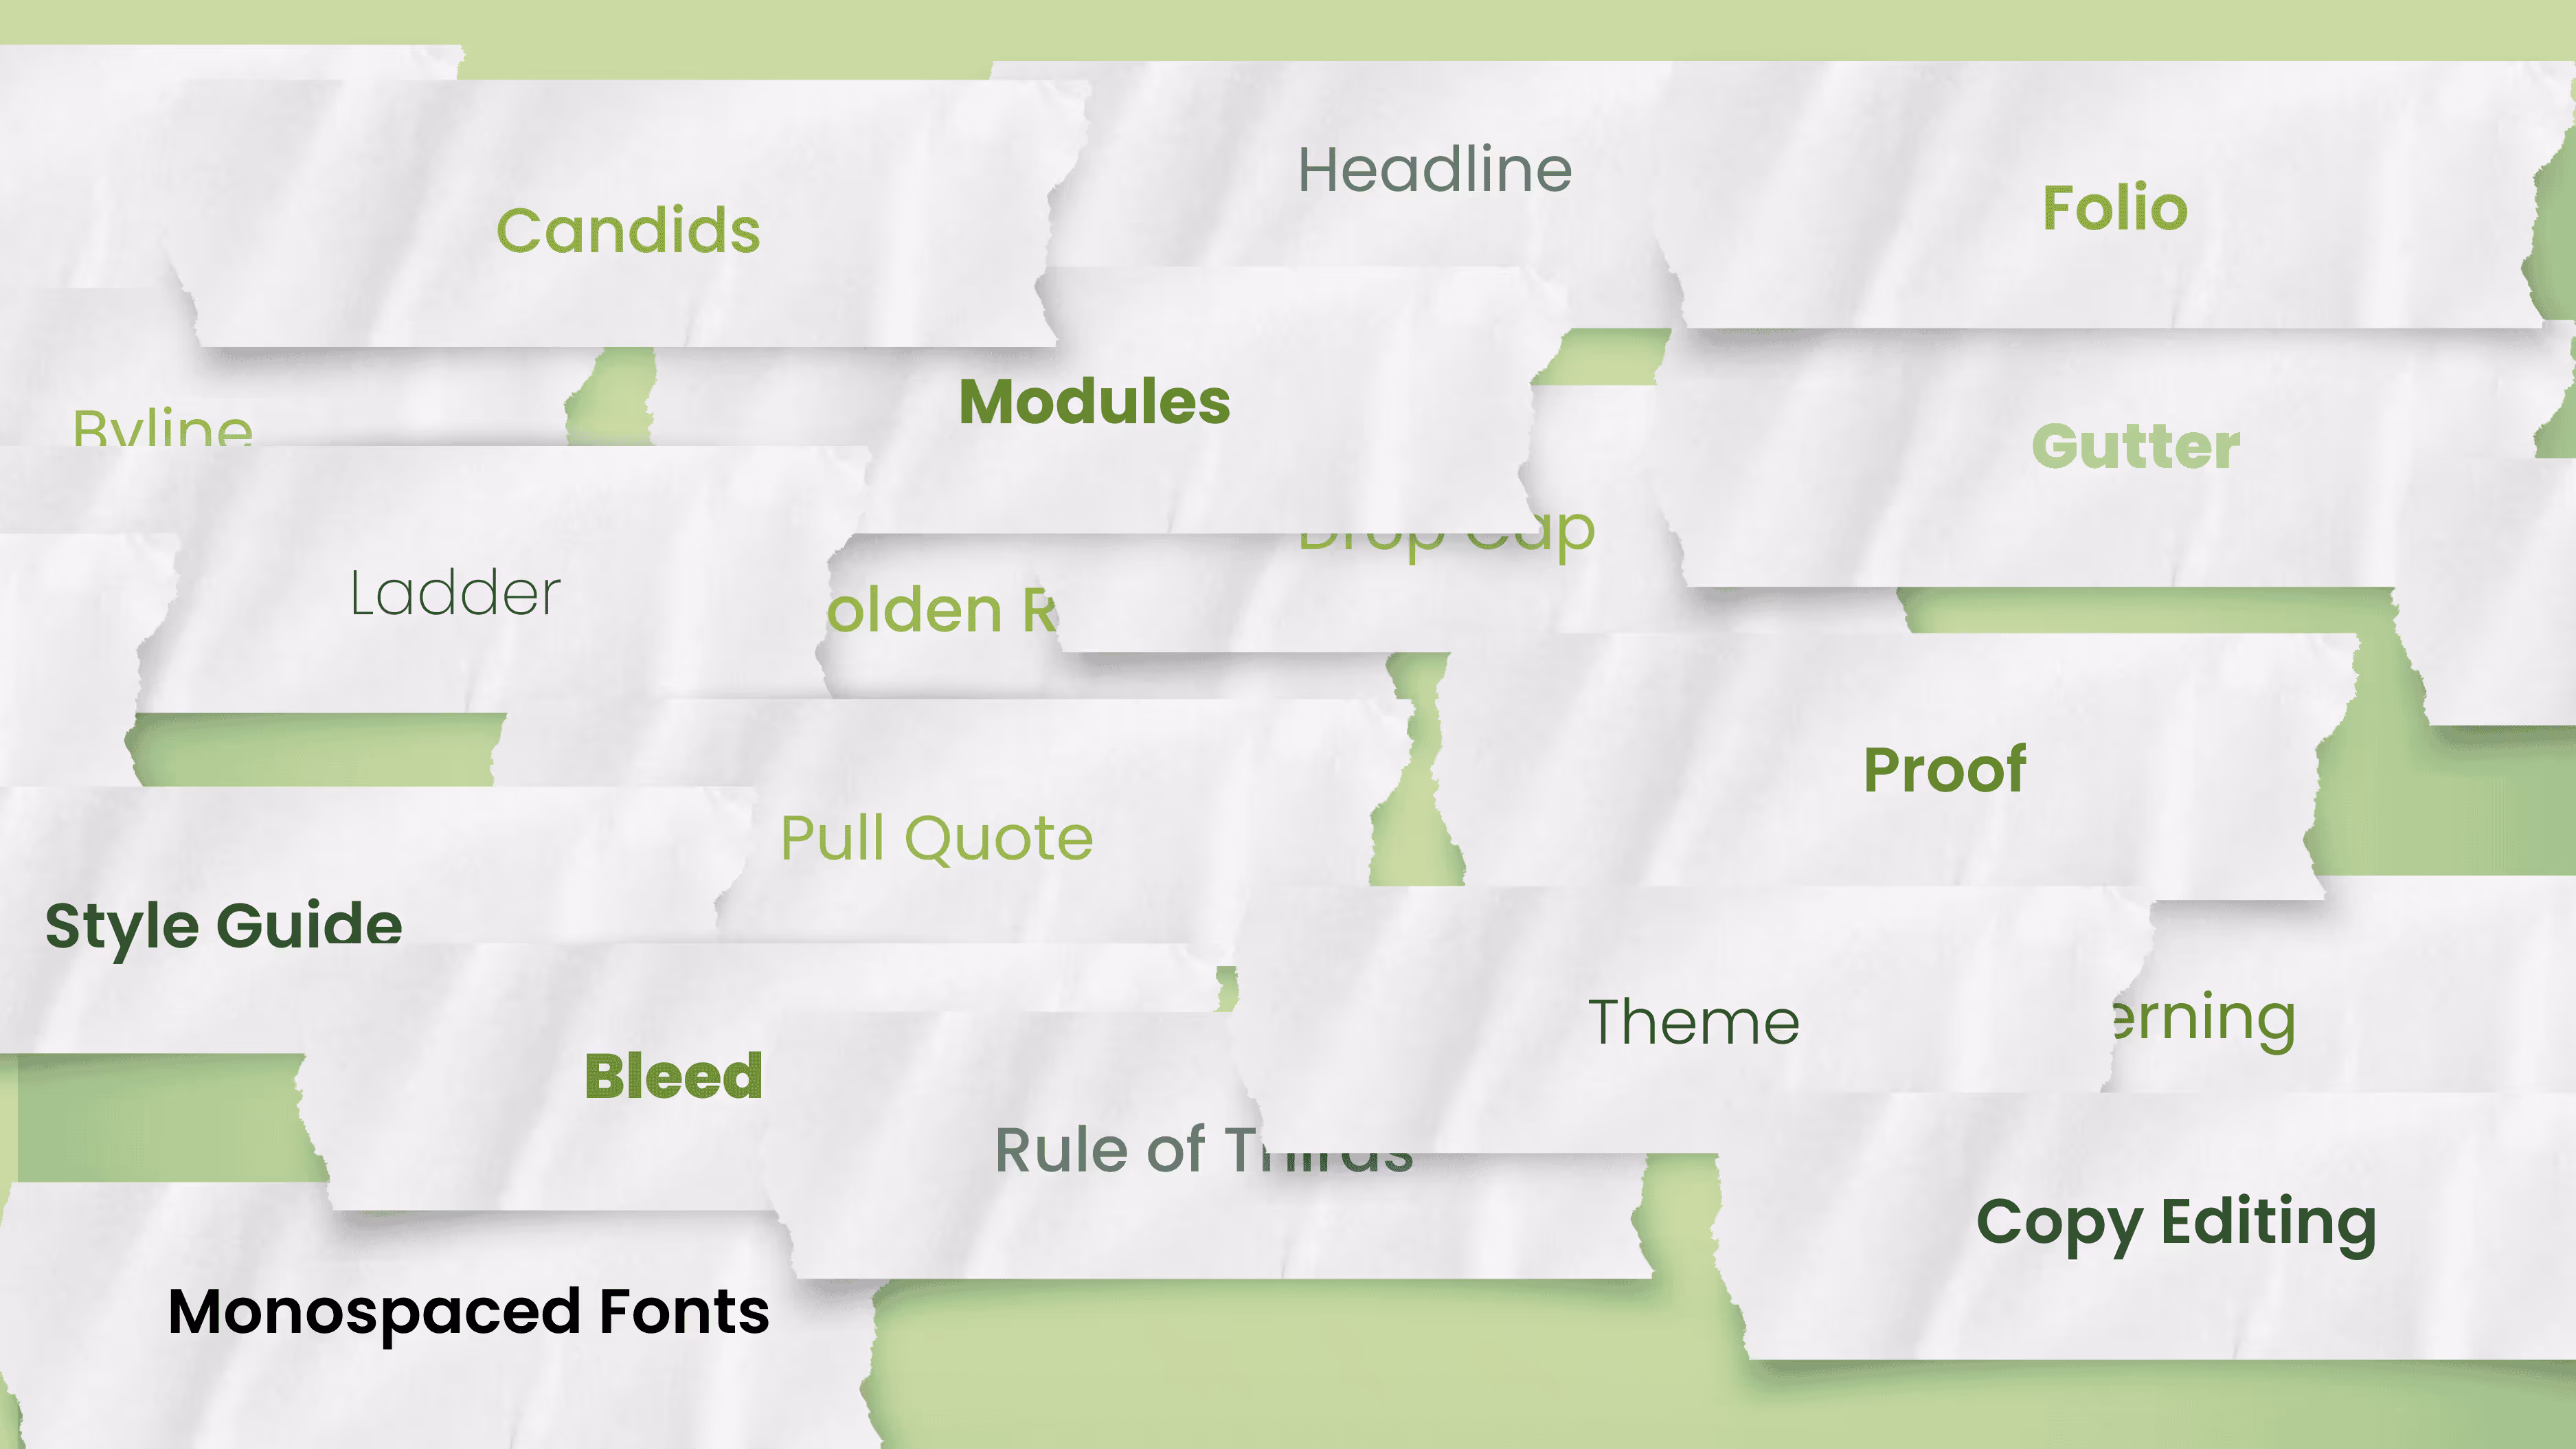
Just as you would start learning a new language by building vocabulary, learning yearbook terminology is your first step. Here are some essential terms to get you started:
If you’re craving more or want to quiz your yearbook class or club, check out Teaching Yearbook: 24 Yearbook Terms. We even built you a Google Form to test their knowledge!
Certain patterns and conventions are used repeatedly. Understanding these patterns can be helpful when organizing content or working with the team on visual elements. Here are a few patterns to look out for:
The final part of the grammar stage is applying your knowledge. Start by using these terms and patterns as you work with other volunteers and students. For instance, if you’re helping with a layout, use terms like “spread” and “gutter” when discussing the design. Practicing the vocabulary helps reinforce your understanding and builds confidence. Our favorite review activity is below.
By building a solid foundation in yearbook terminology and structure, you’ll increase your comfort level with the language of yearbook creation, allowing you to collaborate and contribute meaningfully to the project. The next step is to level up to more advanced stages of yearbook production, perhaps by trying modular design or a chronological yearbook.